Make Your Own Spanish Guitar - online book
Complete plans & Instruction on how make your own Spanish Guitar.
| Share page | Visit Us On FB |
|
10 |
|||
|
|
|||
|
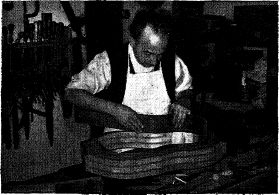
It is possible for the amateur to bend the wood too much. If this happens the bend can be slightly straightened out by turning the side over and lightly resting it on the bending iron.
When both sides have been bent satis�factorily, they are placed inside the mould and temporary braces fitted across at the upper and lower bouts and across the waist to keep them in position whilst they dry out. (See Fig. 4.) |
It does not matter that the ends of the sides overlap at the ends of the mould� these will be "trimmed" later.
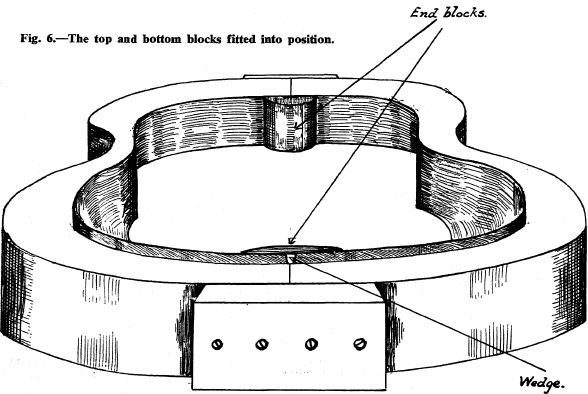
When you are sure that the sides in the mould are thoroughly dry�at least twenty-four hours should be allowed for this�the next thing is to mark the ends at top and bottom of the mould and saw off square across the width. These should then be cut to allow for a small " V " shaped wedge of maple or, sycamore to be inserted. These wedges should be the same thickness as the sides and are driven home to prevent the sides from springing away from the mould.
The bottom wedge is the more important at the top joint will later be cut away when the neck of the guitar is fitted.
END BLOCKS
The end and top blocks should next be cut from a piece of straight-grained spruce (see Fig. 5)�and here it is important to see that the grain of the top block runs verti�cally, to provide the greatest rigidity, and the grain of the bottom block runs hori�zontally to give strength at the base. |
||
 |
|||
|
Fitting the bent sides into the mould. |
|||
|
|
|||
 |
|||
|
|
|||